Use sampleImage() to create a color picker
Posted: February 15th, 2008, 1:58 pm
In this tutorial I will explain how to use the awesome new sampleImage() command (CS3 only) to create a simple color picker effect.
Thanks to Mylenium, Dan Ebberts and Paul Tuersley for helping me figure this out in crunch time!
I worked on a project for which we had to create a color picker that allowed you to change the color of an object "interactively".
We needed to create a fake mouse arrow pointing at certain colors, which in turn would change the color of another object in the composition.
In this tutorial Dan Ebberts explains how to use sampleImage() to read the color information of a layer and apply that information to another layer. This was the starting point of my project.
However in this case the color information is passed directly to the layer sampling the data itself. What I needed was a way to use one layer as my "reader", and another layer as a display of the sampled color.
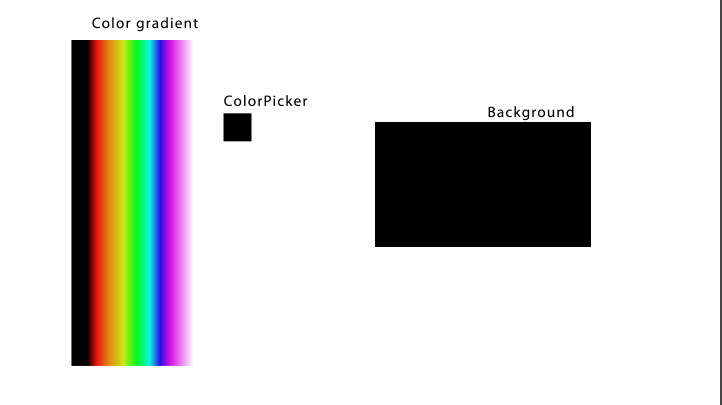
So I have three elements in my main comp :
A background layer that will display the sampled color
A pre-comp containing a color gradient that I will sample from
A "color picker" which in this case will be a small square (a solid layer).

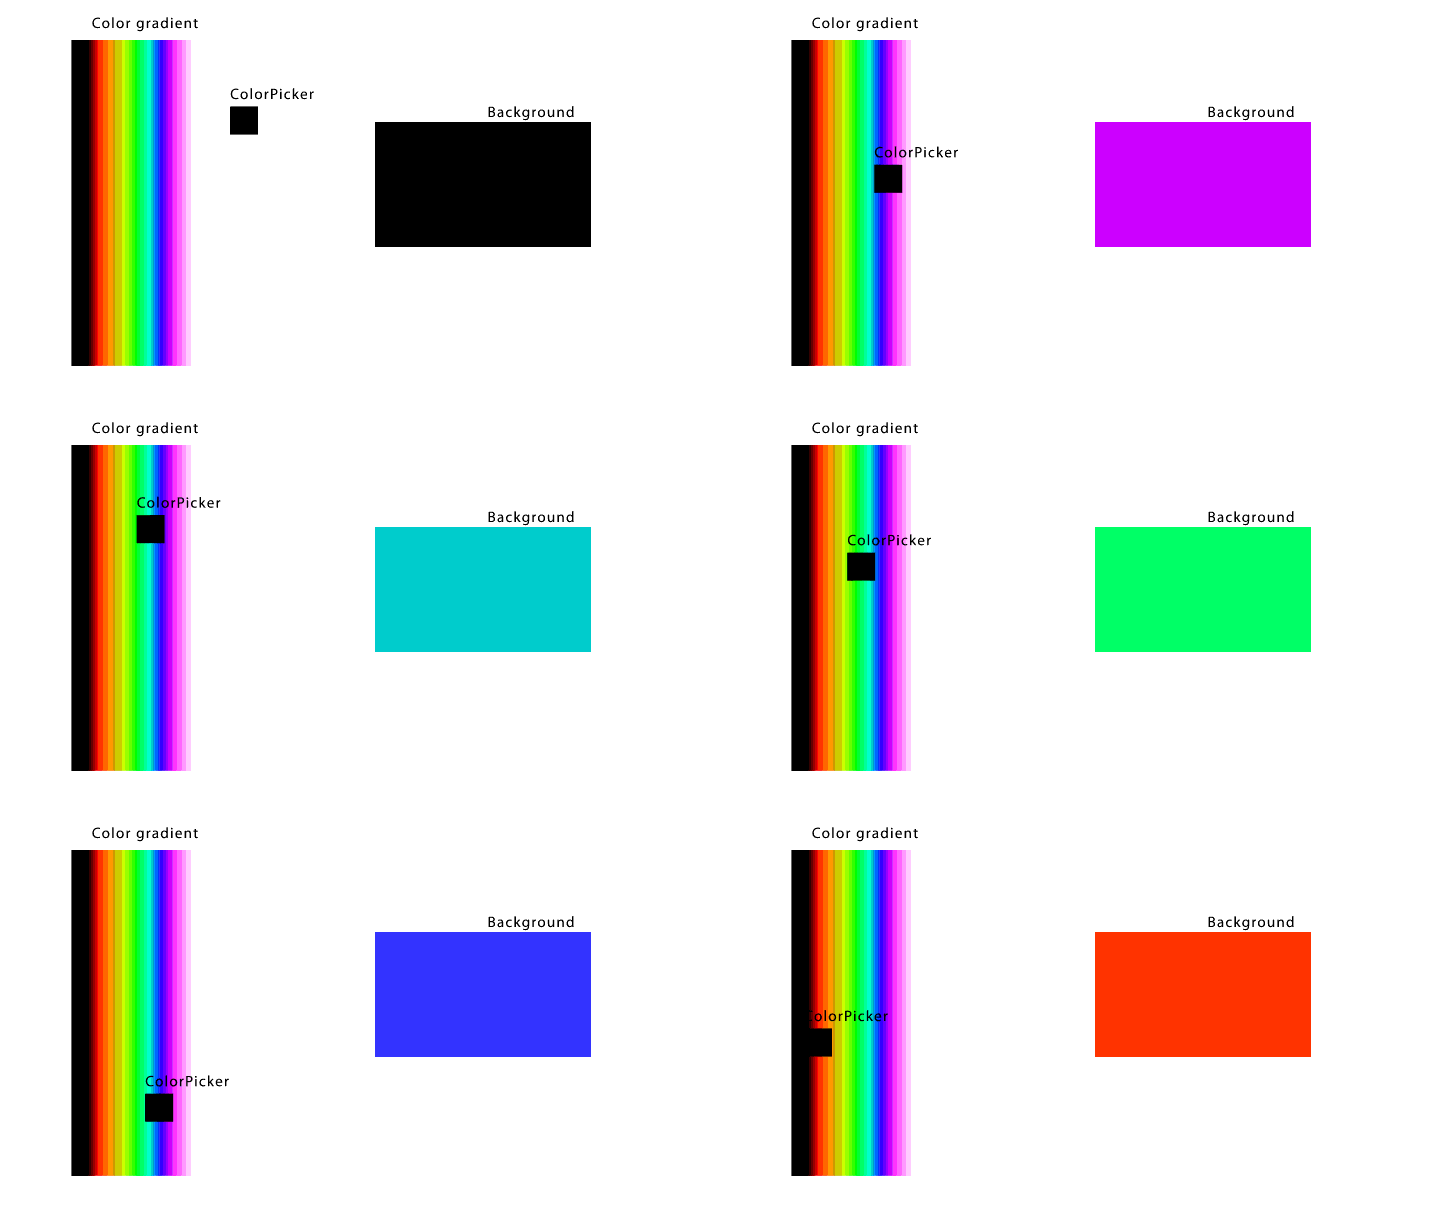
I will do a simple position animation of the square, to make it hover over the color gradient. Now I need to pass the "sampling" data from the square to the background.
If we take a look at the sampleImage() expression, it takes the following parameters :
Where "point" is where the data is coming from (a position array), "radius" is the size of the pixel sample (thing of a color picker radius), "postEffect" allows you to define if the color sampling occurs AFTER all masks and effects, and I'm assuming "time" would allow you to specify a time offset. In our case we won't be concerned about the last two parameters,and they are optional anyways.
In my case, I'm reading data from one layer, and sending it to another. The sampleImage() expression will be placed on the background layer. To make it effective, I will have to use it in a Fill effect or any other effect that will be able to translate the color information.
(You could use the color information to drive other things, but we won't get into that here). What we want is the exact color of one layer to appear on another layer.
First I need to determine what my "point" will be. Since it is in fact not an actual location, but the changing position of my color picker, I need to use pipe that into my "point" argument.
I create a variable called "Target" and I assign it to my color grid.
Remember we are adding this to the"color" parameter of the "Fill" effect on the Background layer.
Now we need to create another variable for our color picker layer.
Of course all these names will be relative to what you called your layers.
Now it is time to add the actual sampleImage() expression
It will look like this :
So to break it down, the variables are assigned, the sampleImage() expression knows it has to read the data from the Color_gradient layer, but it has to do it via the ColorPicker position.
The means that we are actually reading data pixel per pixel. You can create a larger radius if you want to average data a little more. This could be useful if you wanted to average the data from a greenscreen for example (Ã la Shake).
And here is the final result.

One note : be careful with your color picker. Correct me if I'm wrong, but I believe the data is being sampled from the center of the layer/comp, so if you are using a precomp that is comp size, but with a small layer in the center, it could get confusing...
I hope this helps
All the best
Alex
Thanks to Mylenium, Dan Ebberts and Paul Tuersley for helping me figure this out in crunch time!
I worked on a project for which we had to create a color picker that allowed you to change the color of an object "interactively".
We needed to create a fake mouse arrow pointing at certain colors, which in turn would change the color of another object in the composition.
In this tutorial Dan Ebberts explains how to use sampleImage() to read the color information of a layer and apply that information to another layer. This was the starting point of my project.
However in this case the color information is passed directly to the layer sampling the data itself. What I needed was a way to use one layer as my "reader", and another layer as a display of the sampled color.
So I have three elements in my main comp :
A background layer that will display the sampled color
A pre-comp containing a color gradient that I will sample from
A "color picker" which in this case will be a small square (a solid layer).

I will do a simple position animation of the square, to make it hover over the color gradient. Now I need to pass the "sampling" data from the square to the background.
If we take a look at the sampleImage() expression, it takes the following parameters :
Code: Select all
sampleImage(point, radius = [.5, .5], postEffect=true, t=time)In my case, I'm reading data from one layer, and sending it to another. The sampleImage() expression will be placed on the background layer. To make it effective, I will have to use it in a Fill effect or any other effect that will be able to translate the color information.
(You could use the color information to drive other things, but we won't get into that here). What we want is the exact color of one layer to appear on another layer.
First I need to determine what my "point" will be. Since it is in fact not an actual location, but the changing position of my color picker, I need to use pipe that into my "point" argument.
I create a variable called "Target" and I assign it to my color grid.
Code: Select all
target = thisComp.layer("Color_gradient");Now we need to create another variable for our color picker layer.
Code: Select all
colorpicker = thisComp.layer("ColorPicker");Now it is time to add the actual sampleImage() expression
It will look like this :
Code: Select all
target = thisComp.layer("Color_gradient");
colorpicker = thisComp.layer("ColorPicker");
target.sampleImage(target.fromWorld(colorpicker.position), [0.5,0.5], true, time) The
Code: Select all
[0.5,0.5]And here is the final result.

One note : be careful with your color picker. Correct me if I'm wrong, but I believe the data is being sampled from the center of the layer/comp, so if you are using a precomp that is comp size, but with a small layer in the center, it could get confusing...
I hope this helps
All the best
Alex